Properly maintaining your mountain bike is important to keep it running smoothly and avoid breakdowns when riding on trails. It also helps ensure safety and can extend the life of your bike. Doing regular bike maintenance may seem difficult for beginners, but it gets easier over time as you learn what to look out for and which parts need the most care.
Cleaning
Keeping your mountain bike clean allows you to spot issues early. Dirt and mud can hide cracks or damage. Get in the habit of cleaning your bike after every ride by gently spraying it down with a garden hose to remove large clumps of mud. Use a wet sponge and mild detergent to wipe down the frame. Pay special attention to pivots and moving parts. Make sure to avoid spraying water directly into moving parts or electronics.
After washing, go over the frame inspecting welds and scanning for dents that could weaken the integrity. Check that cables and housing are intact and free of rust. Lubricate the chain after cleaning. Towel dry and perform safety checks and basic maintenance before the next ride.
Safety Checks
Do a quick safety check before every ride. Spin each wheel slowly and watch for wobbles which could mean broken spokes or damage. Grab each wheel firmly and rock back and forth feeling for loose bearings. Test brakes for proper function. Check tires for embedded debris, wear, or bulges. Ensure handlebars and seat posts are tight. Scan bolts checking for loose nuts and screws. Confirm shifting is working through all gears. Address any issues promptly for maximum safety.
Lubrication
Lubricating moving parts helps reduce wear and friction for optimal functioning. Keep a lightweight lubricant handy and apply it to your bike often. Put several drops on pivot points, derailleurs, brake levers, shifters, cables, and chain. Wipe off any excess lube. Reapply when parts look dry or feel stiff.
The chain takes a beating when riding trails. Regularly apply chain lube formulated specifically for mountain bike chains after cleaning drivetrain parts. Let it soak in before wiping residue. Reapply based on riding frequency and weather conditions. Lubricate more often in wet, muddy, dusty or sandy environments.
Bolts, Nuts and Screws
Loose bolts, nuts and screws can cause a variety of issues and need to be routinely checked as part of maintenance. Have proper tools on hand like hex wrenches and screwdrivers. Tighten any loose fasteners to proper torque specifications which can often be found online via bike model and part type. Don’t over tighten. Replace damaged threads or rusted bolts/screws promptly.
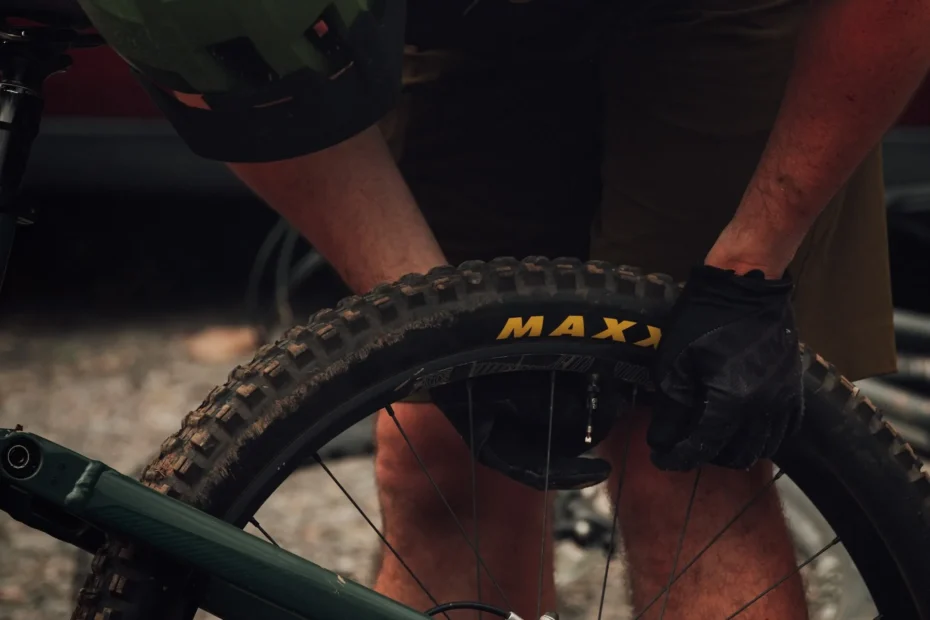
Tires and Wheels
Proper tire pressure boosts traction and handling greatly enhancing trail ride quality and safety. Invest in a quality bike pump with pressure gauge. Check pressure before each ride and inflate tires to within psi range printed on the sidewall. Deflate for soft trail conditions.
Inspect tire tread and sidewalls for embedded debris, tears, dry rotting or irregular wear needing rotation. If worn, replace promptly. Make sure wheels are true. As spokes stretch over time, wheels can become misaligned or loose. Have a shop true the wheel if the rim has side-to-side movement.
Brake Maintenance
Consistent brake performance is critical when riding rugged mountain bike trails. Keep pads and rotors clean and free of oil. Check pads routinely for wear replacing when under 2 millimeters thick. Address uneven pad wear indicating alignment issues. Look for leaks in hydraulic brake lines. Ensure proper brake lever pressure and pad clearance. Swap out brake cables and housing every year or when frayed.
Suspension
Maintaining front and rear shocks keeps suspension performing optimally for better handling. Clean dirt buildup around seals and wipers using a damp rag. Confirm no oil leaks around shafts that indicate worn seals needing replacement. Lubricate air canister seals. Ensure shock bolts are tight before riding. Adjust settings as needed for changing trail conditions. Every 50 hours, do a deep clean using suspension cleaner spray and lint free rag.
Drivetrain
The mountain bike’s drivetrain takes a beating on rugged trails. Expect to replace the chain annually. Monitor wear using a chain tool checker. Address sprockets early when hooked teeth appear. Clean rear cassettes and derailleurs routinely to avoid buildup hampering shifting. Lubricate derailleur pivots. Make sure housing and cables are intact. Replace shift cables and housing yearly.
Stay proactive with drivetrain maintenance and components will have greater longevity keeping shifting crisp when riding over difficult terrain.
Routine Bike Shop Tune-Ups
While much routine maintenance can be done at home, have a professional bike shop mechanic perform regular tune-ups every six months. They will conduct safety checks, assess components condition, true wheels, adjust brakes/shifters, lubricate moving parts and make needed repairs. This helps spot issues you may miss helping avoid problems on the trail.
Tune-ups reduce long-term wear, support safety and keep your mountain bike working great on adventures for years to come. Consider the investment as cheap insurance to get the most out of your bike.
Conclusion
Mountain biking is hard on bike components requiring consistent maintenance for optimal functioning, longevity and rider safety. Learning basic bike repair skills allows you to address minor issues promptly. Partner with a professional bike shop routinely for comprehensive tune-ups, truing wheels, replacing worn elements and safety checks.
Stay on top of maintenance and your mountain bike will deliver miles of trouble-free fun on epic wilderness trail rides for years to come! Feel empowered tackling basic tasks yourself and knowing when to seek expert help. Here’s to happy maintaining and awesome trail adventures!