More people are riding mountain bikes than ever. And that means more opportunities for crashes. You might think you don’t need a helmet for casual riding around your neighborhood. But most bike accidents happen close to home. More people end up in emergency rooms for bike wrecks than for any other sport.
So wearing the right head protection is critical. A good bike helmet can safeguard your noggin. This protects one of your most important organs: your brain!
There are other bonuses from bike helmets too. Many have handy features like ways to mount cameras and carry goggles when you’re off the bike. So helmets are crucial gear for any rider, from casual pedalers to hard-charging downhillers.
This guide will give you pro tips for picking the perfect lid for your style of mountain biking. Let’s get started!
Anatomy of a Helmet
When you go to buy a brain bucket, there are two main pieces:
The hard outer shell is made of tough plastic. This handles impacts if you wreck. It spreads the force around your head instead of straight to one spot. That helps prevent skull fractures and brain injuries.
Under that is soft foam padding. This cushioning absorbs jolts to reduce rattling of your brain inside your skull. New designs use special foams or gels that compress slowly on hits. This dissipates energy from crashes over more time, again guarding gray matter.
Manufacturers tune foam densities and shell strengths for different uses. The mix of squishy versus solid parts helps helmets pass safety certifications too. Now you know the ingredients. Next we’ll explore types of lids.
Helmet Styles
Mountain biking uses helmets made a bit differently than road rides or commuting around town. The domes shielding MTB daredevils handle rougher rides and higher impacts if you go downhill at speed or overjump and auger in. Let’s review popular off-road helmet types:
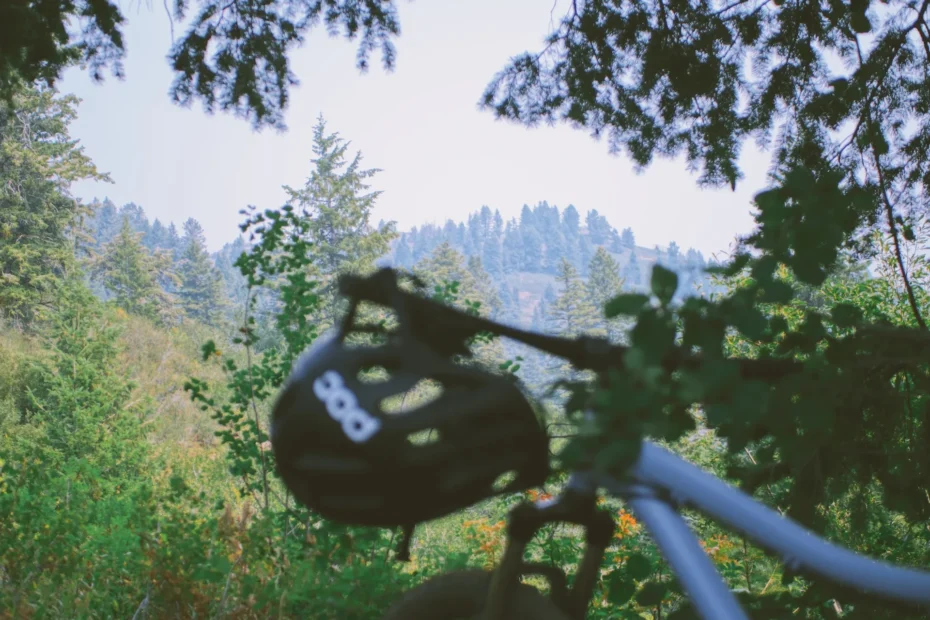
Trail/All-Mountain: These are the most common MTB helmet style. They work well for most types of recreational riding from mellow terrain to technical singletrack. Trail lids cover more of the back and sides of your head for increased protection. They have good ventilation too to keep your melon cool on long outings.
Enduro: For more aggressive trail shredding or lift-served downhill riding, enduro helmets add even more coverage. They look similar to trail/all-mountain designs but include a full shell wrapping lower on back and sides. Extra armor gets thrown in too like shells that completely encase foam. Frequent high speed crashes demand it.
Full Face: Downhill racers wear specialized full face helmets when pushing the extremes of speed and sendage. These resemble lightweight motocross or dirt bike lids with a chin guard. That prevents major facial fractures and busted teeth while hucking big air and blasting rock gardens at the bike park. More design has gone into full face helmets over recent years to enhance comfort, breathability, and safety.
Buying Considerations
You can choose from tons of helmets for singletrack duty covering every MTB niche imaginable. While having options is great, picking the right one can get overwhelming. Here are key factors to consider:
Safety Standards: Check for certification stickers inside helmets from groups like CPSC or CE EN 1078. This proves they passed impact tests. Models not up to code are best avoided. Your cranium is too precious to cheap out with dubious melon protectors.
Comfort: Comfy cradling of delicate dome contours goes a long way too. Try on different helmets to find one suiting the shape of your skull. It should feel snug all around without pressure points. Pick thin or thick padding based on cushioning style you prefer too. Don’t size up too much either or a loose fit won’t guard gray matter during crashes.
Head Coverage: Look at back and side designs meeting your riding needs. More aggressive trail riding may call for increased coverage versus simple XC laps. Full shells are key for downhill shredding as reviewed before. You want a lid fitting how you roll.
Features: Many helmets nowadays have handy bonus functions built in:
- Cameras/lights – Attachment points to mount GoPros or bike lights
- Goggle clips – Holds goggles in place when not shredding downhill
- Visors – Shade sun or rain from eyes
- Integrated shades – Some enduro lids include optics
- MIPS/WaveCel/SPIN – Advanced safety designs
- Magnetic buckles – Faster strap adjustments
Ventilation: Keeping your head chillaxin’ with breezy airflow does wonders on long hot rides. Helmet vents help sweat evaporate quickly so you avoid overheating or ubiquitous goggle tan lines!
Getting the Right Fit
Dialing in a dialing in a dialing helmet fit seals the deal on safety and keeping your noggin’ chill. Here’s a checklist for getting it just right:
- It shouldn’t shift around while you look side to side or up and down
- Straps should meet in a “V” right under your ears without pinching
- Buckle the chinstrap snugly with room to squeeze one finger between strap and chin
- Shake your head around – If it jiggles much, tighten up!
- The front rim should sit one finger width above your eyebrows
Take time to tweak adjustments for a custom cradling of your cranium. It makes a ginormous difference riding in total comfort and confidence nothing will jostle loose.
Care and Maintenance
Investing in a tip-top helmet saves your brain but it’s no use sitting at home collecting dust! Get out and use it often. And be sure to keep that baby clean and safe with TLC:
- Inspect for cracks in the shell or foam after any hard hits. Retire compromised helmets immediately. Better safe than sorry with possible concussions!
- Clean sweat and grime regularly with mild soap and water. Most pads can be removed and rinsed too. Let everything air dry well before reassembly.
- Store helmets properly when not riding to prevent sun damage and warping. Don’t leave them baking in hot cars!
- Avoid dropping your helmet or whacking it into stuff by mistake. Seemingly small blows add up over time.
- Replace helmets every 3-5 years or after crashing. Foam and shells gradually degrade even if not ridden much. Again erring on the side of safety is smart.
Show your helmet some TLC and it will keep showing the love back on rowdy rides!
The Takeaway
Mountain biking delivers some of life’s greatest rushes. But with big air and mach speed come dangers if you don’t respect proper precautions. Snagging a stellar helmet optimized for your specific riding needs tops that list of safety best practices.
We covered all the key considerations from anatomy and styles to tweaking the perfect fit. While tempting to go cheap, scrimping on subpar head protection risks what’s most precious—your mind.
Invest instead in a tip-top helmet bringing confidence to charge harder knowing spills and crashes stand little chance against its engineering. Get out and shred — safely wrapped in a customized cranium cocoon! The epic rides and memories last a lifetime.